")
This dollar store DIY Easter arts and crafts project is perfect for a kids room or anywhere you want to add a little bit of Easter!
")
How To
Highlights
items you’ll need…
Picture Frames
Choose any size picture frame to completely customized your artwork. I bought all three of these at the dollar store, so the cost was minimal. The existing color won’t matter, as you’ll be painting them. So you only have to decide on the sizes you want for the final art gallery.
")
Foam Embellishments
Again, the dollar store to the rescue! These cute Easter foam stickers were exactly what I was looking for and the right size, as well. You could use any small embellishments for this project If you choose wood or metal, keep in mind that you most likely won’t be able to put the glass pane back in. However, without the glass and thicker items, you could achieve a nice 3D effect. (using plastic easter egg halves, for example)
")
Ribbon
Choose ribbon that will coordinate with the paint colors you’ll be using on your frames. Whatever colors you choose, find a ribbon that is a smaller width than your embellishments. The ribbon should be the backdrop, not the main element. For all three frames, I used about 2 & 1/2 yards total.
")
Paint
I went with spraypaint for quick work. The paint and primer combo means fewer coats and a smoother finish. You can just as easily use any paint you happen to already have. Choose colors to coordinate with the rest of your color palette.
")
Low Temp Glue Gun
Since you’re working with foam, the lower temperature will assure nothing melts. (it also prevents any finger burns!)
")
the steps…
Remove the glass and backing from your frame using a flat head screwdriver, butter knife, or a very strong fingernail to bend back the small metal brackets holding everything in place. CAREFULLY clean the glass. Use glass cleaner, or warm soapy water and dry. Set everything aside. You’ll only be working with the frames for the next step.
")
Repeat for all the frames.
")
Paint the frames the color of your choice. If you are spray painting, make sure to be in a location with good ventilation, and use a dropcloth. Paint outside. But don’t choose a day with 40 mile an hour winds. Or any day where the temperature is less than 50°. I speak from experience and it was a nightmare. EEK! So, choose a perfectly lovely spring day, with birds chirping and a beautiful blue sky overhead. Plus, the warmer the weather, the quicker your paint will dry.
")
While your paint is drying, cut a piece of construction or poster board to fit the frame size. This will be your backdrop for gluing your ribbon and Easter foam pieces. I chose white, but any color that coordinates with your palette will work. Keep the backing paper color the same for each frame, to tie the gallery pieces together. You want it to look like it came in a set. With each frame a different color, the white backing accomplishes a professional look. Alternatively, you could get a similar finished look by painting each frame the same color and using different colors of the paper backing.
")
Lay the ribbons an equal distance apart. Use a small amount of glue on each end and flip your paper over.
")
With a stiff poster board, you can glue the ribbon directly onto the backside to hold it in place.
")
If you’ve used construction paper, take your page and glue the ribbon to the backside of the picture frame stand that you set aside earlier.
")
Dry fit your foam pieces on the ribbon for the best design. Once you’re happy with the look, glue in place. Since these were stickers, peeling the backing off and pressing in place would work just as well.
")
Replace the glass, add your artwork and backing, and press the small metal brackets down to complete the project. Now just find the best place to display your framed Easter Art Set!

")
")

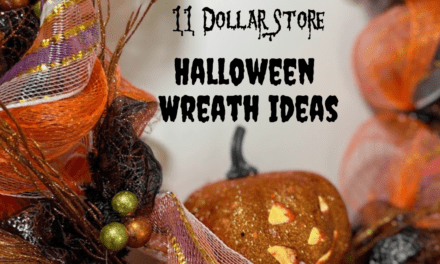
Holiday Decorating With Tree Branches
How to bring new life to ordinary tree branches for holiday crafting and home decorations. Budget friendly Easter centerpiece and other holiday ideas.
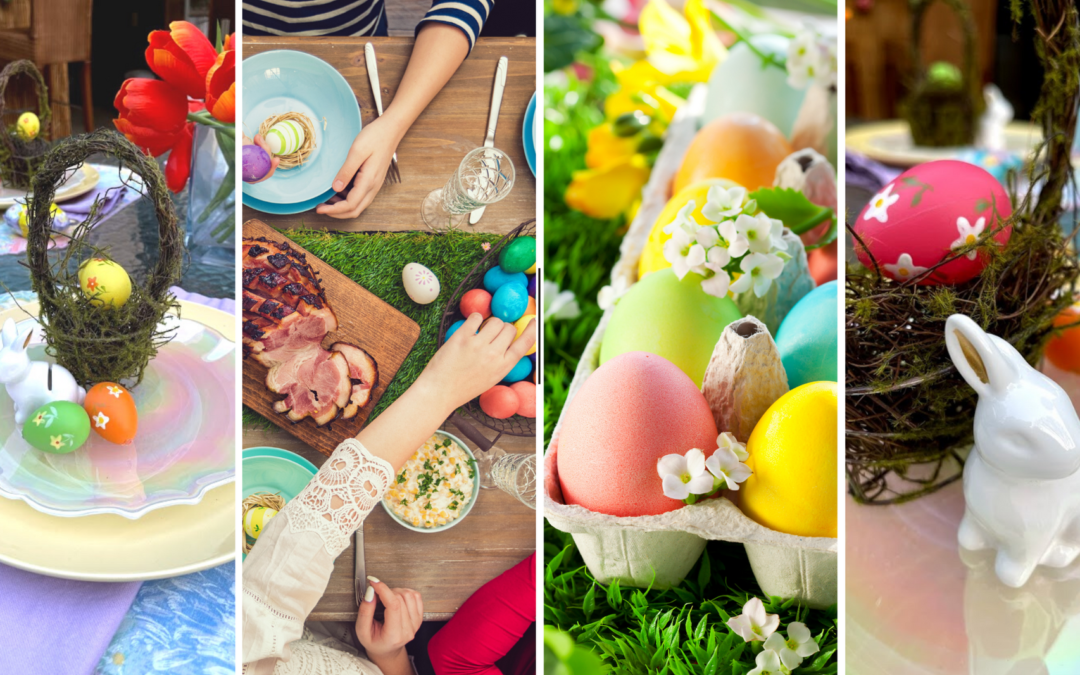
Easy Easter Entertaining
Throwing an Easter brunch? Simple and easy Easter entertaining ideas for the perfect Sunday holiday get-together. From the table setting to the easter egg hunt and everything in between.
This post may contain affiliate links. Danelia Design is a participant in the Amazon Services LLC Associates Program, an affiliate advertising program designed to provide a means for sites to earn advertising fees by advertising and linking to amazon.com. For more information, please read my disclaimer here.

