Taqueria Style Pickled JalapeÑos
There is nothing more wonderful than walking into a Mexican taqueria and seeing a metal tub full of hot jalapeños enticing you to fill that small plastic cup. They’re small green disks of happiness and mouthwatering goodness. Those little guys are just screaming “Come and get me!”
Every Mexican dish can be made better by adding these small explosions of spicy hot pickled flavor to each bite. This recipe is similar to a Mexican escabeche, which means “pickled”. You can add in other vegetables, such as radish, cauliflower, or celery for even more meal options.
Go crazy! Go nuts! And create your custom jar full of spicy pickled pleasure to take your Taco Tuesday to another level!
2 hours +
10 min water bath
6 Pint Size Jars
Step-01
Gather & prep your ingredients
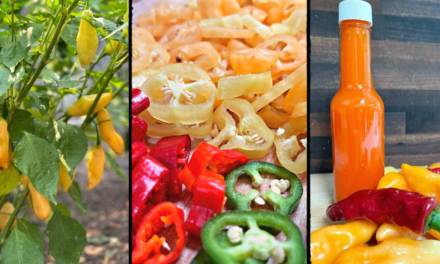
I grew “Craig’s Grande Jalapeño” peppers in my garden this year. (I bought my seeds from Baker Creek Rare Seeds and grew them like this) I like to wait until some have turned red before I harvest them since the gorgeous mix of color makes for a prettier jar. You’ll also get extra color with the carrot, onion, and garlic that is added, as well. There’s really no wrong way to layer your canning jar.

For a quick and easy, 10 minute, “no canning” stovetop refrigerated jalapeno recipe, you can click here

")
")
")
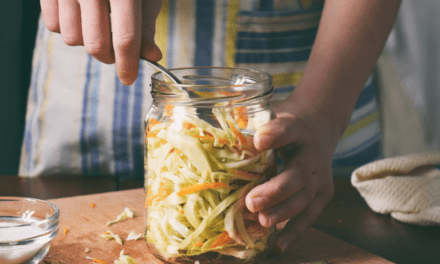
Step-02
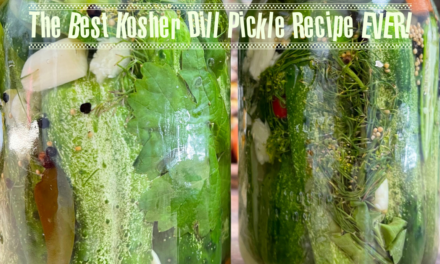
Fill Your Jars
Loosely pack your canning jars by layering the carrot, onion, garlic, and sliced jalapeños. Add a single bay leaf to each jar. The bay leaf will help to keep the crispness of the peppers. (I’m not sure how the science behind this works, but it does) note: They will soften up over time. A sprinkle of cumin seed on top and you’re ready for the brine.
")
")
The brine only has to be heated enough to dissolve the salt and sugar. Leave it on the stovetop. When you’re ready to fill your jars, bring it back to a boil. You want to pour the hot liquid into the hot jars before you plunge them into boiling water. Trust me on this. If the jars are cold, the glass may break when it’s added to the boiling water. And you DO NOT want to be looking into a pot of boiling water with jalapeno and glass everywhere. It has happened to me and I have learned. So let me spare you the pain of an entire kitchen of eye-watering, almost unbreathable jalapeno steam coming off the pot and filling the air. Plus the glass is a pain to clean up. Just trust me, and use warmed canning jars.
Step-03
10 minute water bath
Process in a boiling water bath for 10 minutes. If you are above 1,000 feet elevation, you’ll need to adjust the time for the higher altitude. Here is a great article to help with higher elevation canning.

")
Ingredients
- 2 lbs fresh jalapeños
- 7 cups white vinegar
- 1 + 1/2 cup water
- 5 tsp sea salt (or any non-iodized salt)
- 3 tsp sugar
- 3 carrots, peeled
- 1 white onion
- 1 head garlic, peeled & separated into individual cloves
- 1 Tbsp cumin seeds
- Bay leaves – 1 for each jar
Equipment
- Kitchen Scale
- Measuring spoons
- Large mixing bowls
- Wooden or plastic spoon
- Clean and sterile canning jars & lids (6 Pint or 12 1/2 pint size)
- Large stainless steel stockpot
- Jar lifter & canning rack
- Sharp knife and cutting board
- There are really only a few steps to this process. Slice, chop, fill, boil, and wait a day before you dive into the amazingness of the pickled jalapeno. Easy-peasy-lemon-squeezy!
- Have your canning equipment sanitized and the pot of water ready to go. You can heat the jars in your pot of water ahead of time, or run them through the dishwasher to keep them hot until you’re ready to fill them.
- Prepare your brine, using a non-reactive pot, heating the vinegar and water solution until the sugar and salt have dissolved. Leave on the stovetop on simmer to keep warm until you’re ready to fill your jars.
- Prepare your vegetables. Slice the jalapeños in 1/4 to 1/8 inch slices. (discard the stems) You can wear gloves, and if you’re extra sensitive, opt for eyewear and a mask.
- Slice the carrots into 1/4-inch disks. Peel the garlic and coarsely chop the onion into wedges.
- Time to fill your jars. Loosely pack each jar with your peppers. Add a few carrot slices, a couple of garlic cloves, 1 bay leaf, and a sprinkle of cumin seeds.
- Add the brine, leaving a 1/2 inch of headspace on top. If you’re running low on brine, add a bit of vinegar or water to top it off. Add the lid and hand tighten the cap. Your jars are now ready to jump into hot water!
- Gently submerge the jars into your canning pot (which should be at a low rolling boil) Make sure you have a rack on the bottom of the pot. Jars sitting directly on the bottom of the pot may break.
- After 10 minutes, pull the jars out using a jar lifter and set them on a towel. Let rest for a full day. The jalapeños may have floated to the top, but they will settle during this time. Within the next 20 minutes or so you’ll hear a popping sound as each lid creates a perfect seal. Don’t mess with the jars yet! Have patience, grasshopper.
- After a day, check the lids. If any have not sealed (test by pushing down on the lid – it shouldn’t be flexible) Refrigerate any that aren’t sealed and use within 2 weeks. Properly processed and sealed jars can be kept in a cool pantry for a few years. Note: expect the brine to become cloudy and the peppers to change to a more muted green over time. They only get better as they age!
Can I make them without a full canning process?
YES! The above recipe is for shelf-stable water bath canning – meaning a jar that will last for 2 years in your pantry. (you’ll eat them long before that though!) If you are looking for something easier – you can use the same ingredients, prep as described earlier, add to a pot on the stovetop, boil, and keep in any glass jar with a lid. (This quick stovetop method has to be refrigerated) I make large batches to last the year, so I typically choose the water bath process. But it’s up to you!
quick and easy pickled jalapeÑos
Prep the ingredients as listed above. Add all the ingredients EXCEPT the jalapeños to a 3-quart stainless steel pot. Bring to a boil. Once it’s boiling, add in your jalapeños, give it a stir to incorporate the liquid, and quickly remove from heat. Let sit for 8-10 minutes and when cooled add the jalapenos and the brine to any clean glass jar with a lid. Refrigerate immediately. They will last 3-4 weeks in the fridge.
My husband covets these small jars of pickled heaven. I like to give them away (friends, family, my hairstylist) So I have to make enough of them to last the year until the garden produces again. I always keep a few stashed in the back of the pantry for Nacho Night and there’s always a cool jar in the fridge. By the time my pepper plants are done for the season, I’ll have made about 2 dozen jars from 3 plants. I also like to make jalapeño jelly, which is my daughter’s favorite. (over cream cheese or brie and spread on crackers) Next year I may have to sacrifice more garden space to add another pepper plant. Sorry eggplant, take one for the team….one of you may have to go to make room for another jalapeño plant. Such suffering and sadness when we’ve reached for the last jar only to discover it’s empty! So the more I can make each year, the happier the world seems. And a happy world includes more Nacho Nights and Taco Tuesdays!! So even with all our differences, we can celebrate the jalapeño together!

")
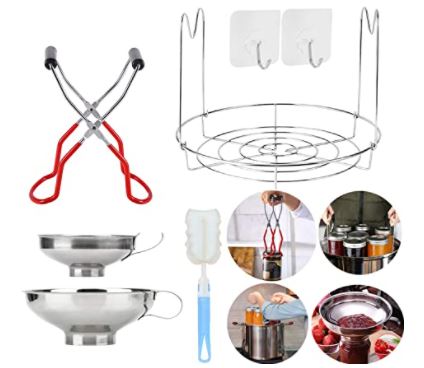
Canning essentials
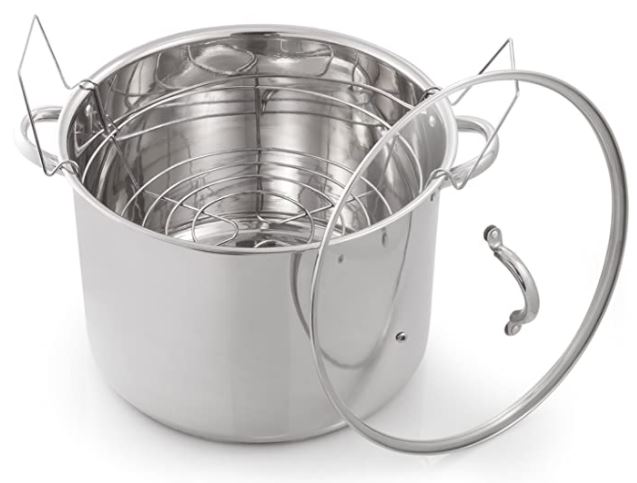
Stainless Steel Water Bath Canner

Pint Jars set of 12

12 Lids and bands

2 inch 40 piece jar labels
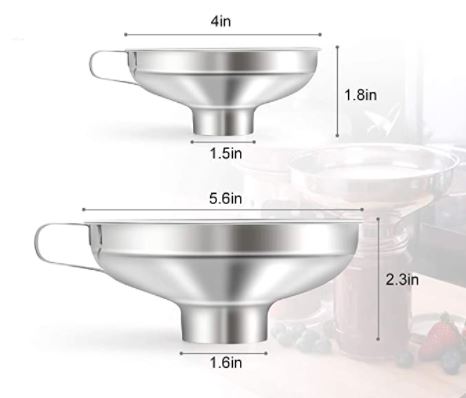
2 pack canning funnels
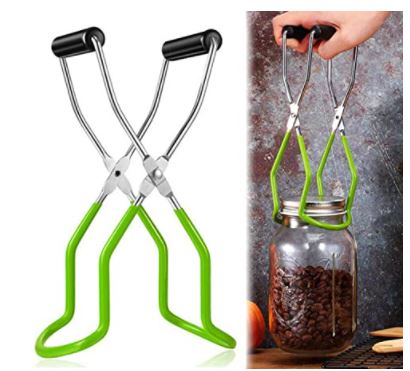
Jar lifter
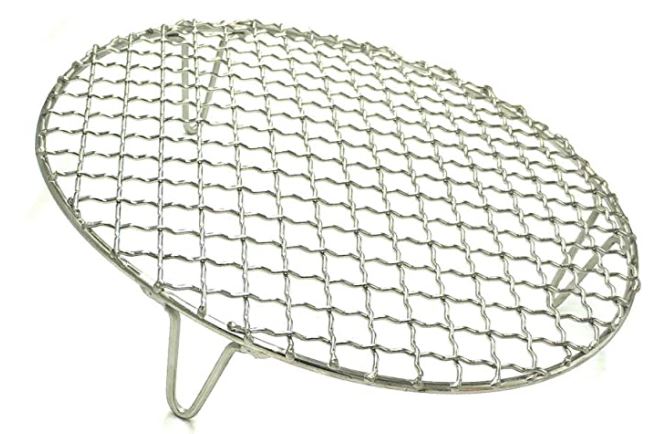
Stainless Steel Canning Rack

12" canning rack with handles -set of 2
Magnetic lid lifter & bubble remover
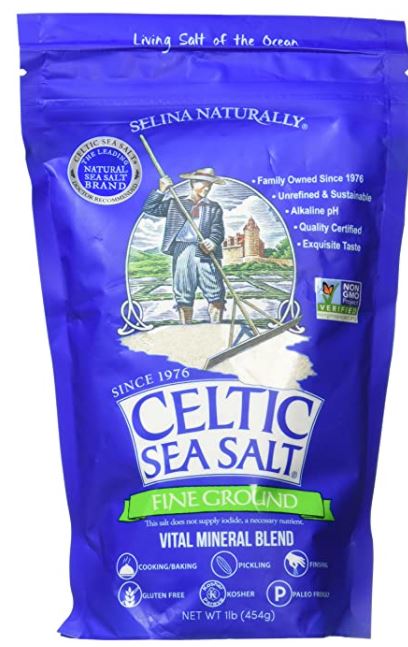
Celtic salt - great for Pickling
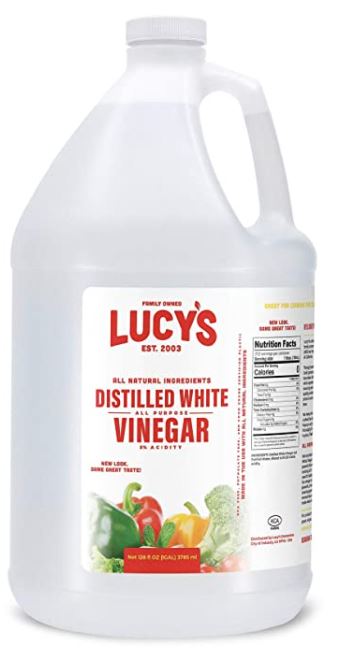
1 gallon distilled white vinegar
Book of canning & preserving with 350 recipes

")
")
This post may contain affiliate links. Danelia Design is a participant in the Amazon Services LLC Associates Program, an affiliate advertising program designed to provide a means for sites to earn advertising fees by advertising and linking to amazon.com. For more information, please read my disclaimer here.

can these be safely canned without using the sugar?
absolutely! You can choose to use the sugar or not, they’ll come out great either way. 🙂