Tiki Fun
I’ve always been drawn to the Polynesian world. When I was 18 years old, I had a rare opportunity to spend a summer on the beautiful island of Maui with my friend Sandy and her family. Besides the obvious appeal of living in a tropical paradise, I found the laid-back lifestyle of the people perfect for a girl straight out of high school. Since traveling to Hawaii on a regular basis isn’t realistic (yet) I’ve been working on bringing the tropics to our backyard. And yes, for those Disney fans in the group, I’ve pulled some of my inspiration from Walt Disney’s Enchanted Tiki Room.
Dole Whips for everyone!
“Tiki-Chic, not Tiki-Tacky”
Those were the words my husband said to me when I told him I wanted the backyard to look like we were on a tropical vacation. Left to my own accord, I’d go all in and tacky the heck out of it! I think that Tiki Rooms are meant to be tacky, that’s part of the fun. I also understand that it’s not a single room I’m designing, it’s the entire yard, so Tiki Chic it is. To be honest, it’s not as easy as I first thought it would be. Google “Tiki Bar” images and a gazillion tacky (but fun!) pictures come up. So after the bar was built, selectively adding tropical accents, colors, flowers and plants became my goal. All the while keeping a big picture in mind for our Polynesian retreat. Full disclosure, we have a pool. So really, I’m halfway to our vacation just by stepping out the back door. A pool was non-negotiable after marrying my husband. We top 100 degrees on a regular basis during the summer, and I was taking 2 cold showers a day to survive. (First-world problems, I know). However, I’m pretty sure that buying a house with a pool keeps our marriage going strong. Happy wife, happy life. 🙂
We were very lucky to find a home with decades of established beautiful landscaping. Honestly, the backyard is the reason we bought our house. It takes a lot of work and a lot of time to keep up with, but it’s so rewarding. I’ve found bulbs and plants that are not only tropical but will thrive in the super dry heat of summer. Elephant Ears do really well and get HUGE! I’m talking 6-8 feet tall kinda big. Cannas and Calla Lilies add the color I’m looking for and in the shady spots of the yard, I can’t go wrong with any type of fern. I planted a hibiscus in a large pot last summer and it gifted us daily with stunningly deep red flowers. Sady, it suffered from the few freezing winter nights we had, so I’ll have to keep it covered next year (assuming it comes back again with the heat this summer). The neighbors around the corner have the most beautiful Bird of Paradise plant, easy 3 feet wide and 5 feet high. I’d have to really commit to dedicating that much space year-round though, so maybe not just yet. But WOW, it just screams “HAWAII”!
What you’ll need to Build a Pallet Tiki Bar
2 Palletts 40" HIGH BY 48" WIDE (OR ANY WIDTH, BUT PAY ATTENTION TO HEIGHT, YOU'LL NEED the BAR STOOLS TO FIT)
Plywood for 3 sides and the bar top
Wood stain, putty, & clear laquer (or an all-in-one product) Long wood screws and finish nails
Natural Reed Garden Fencing Material (it comes rolled in a 6' high x 26' wide size, more than enough)
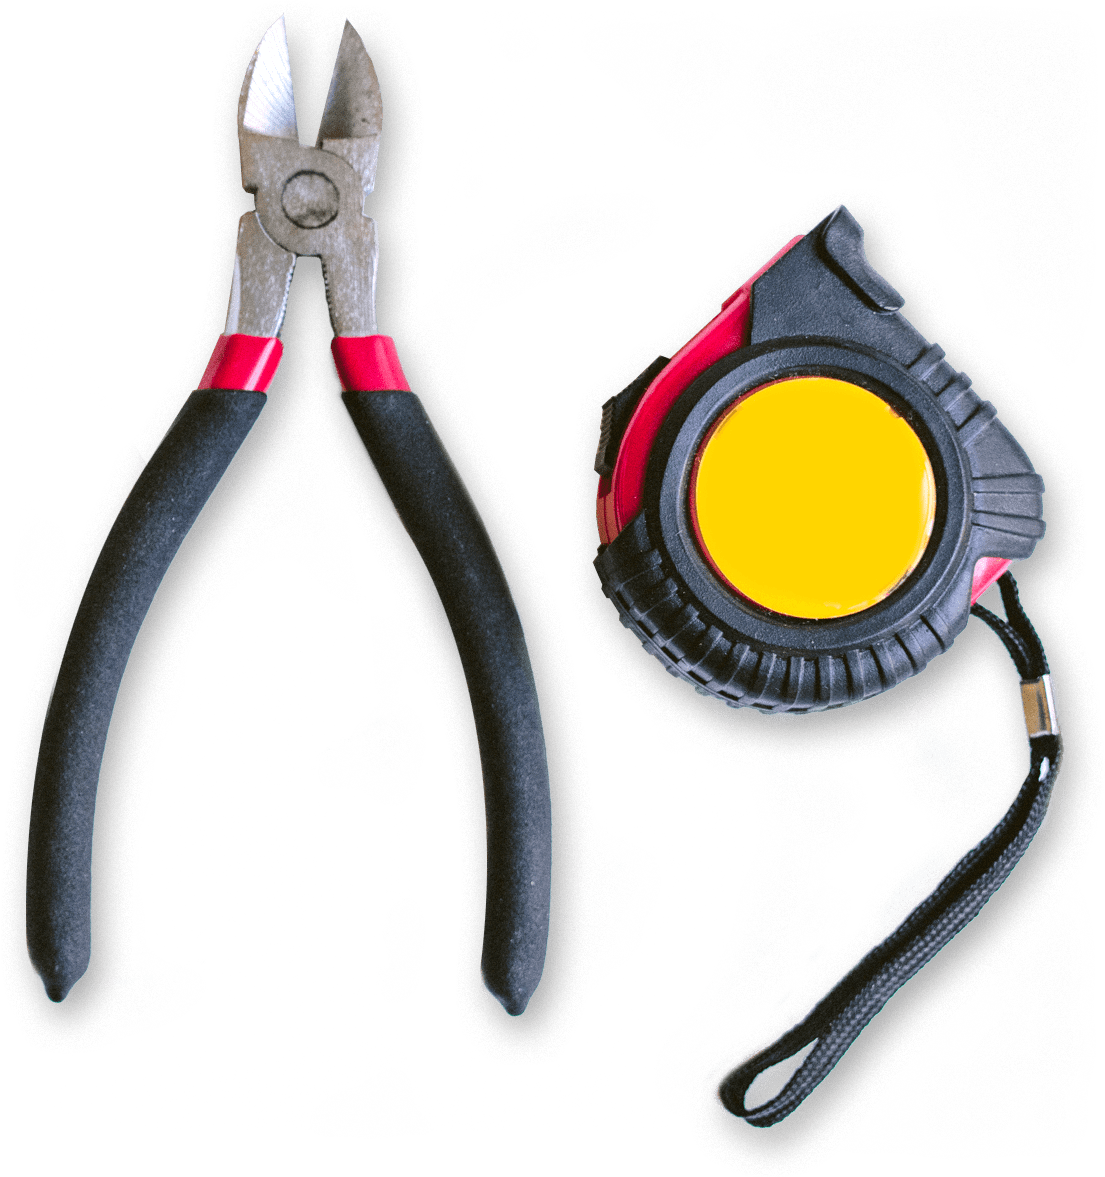
Hammer, measuring tape, Jigsaw, heavy duty scissors, wire snips, paint brush, screw gun or impact driver, orbital sander, staple gun
String lights, signage, & fun tiki decor
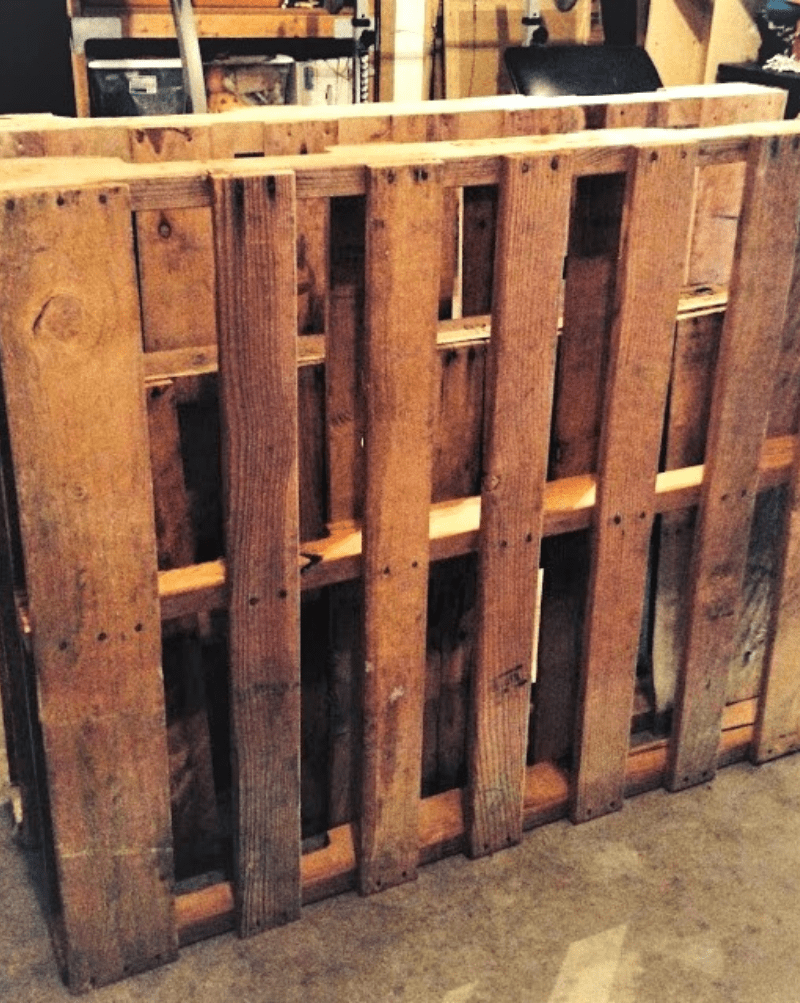
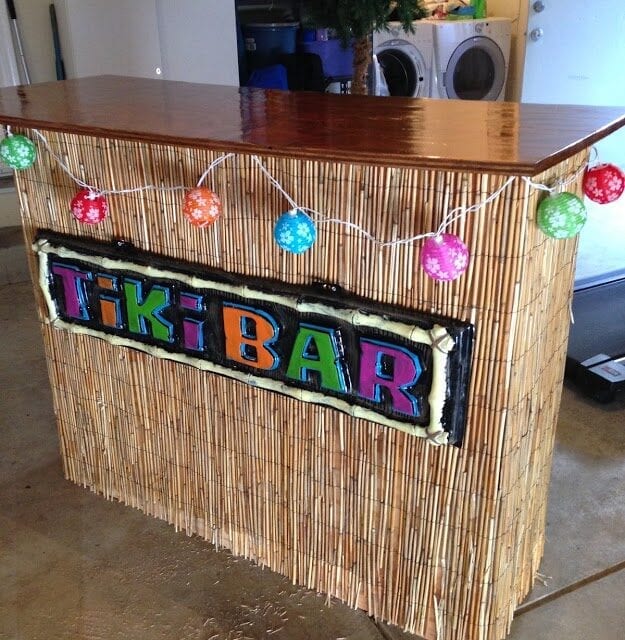
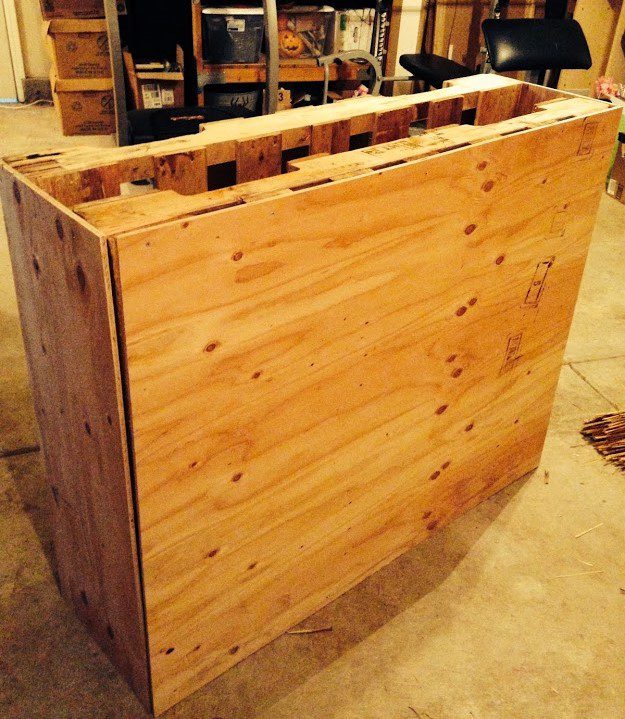
Pallets are pretty easily found, and most often you can get them for free. Search Craigslist, FB Marketplace, or call around to hardware stores. I was working at an electrician’s office at the time, and we had them by the dozens. Every delivery came on a pallet. I took home 3 for this project. (if you look at the photo you’ll see two large pallets and there is a shorter one squeezed in the middle). I wanted to achieve more width to the bar for the bar top to sit on and for better stability in general. Looking back, I didn’t need the one in the middle, I could have easily used wood blocks to space the two larger pallets apart. I only mention this because my Tiki bar now weighs a million pounds and it just about impossible to move. One less heavy pallet in the middle would have been smarter, but I ended up using it to my advantage in the end. (see my storage trick at the end of the instructions)
Once I had the pallets lined up, I used long wood screws and my impact driver (actually, my sister’s impact driver that I borrowed – thanks Sam!) and attached the pallets together, using any place where the wood came together. I used 8 screws total for this. It was pretty stable, and not going to fall apart at this point.
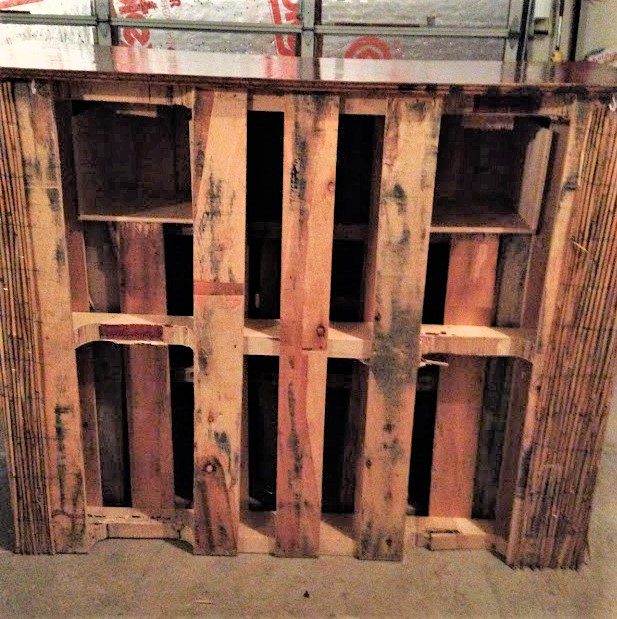
For the plywood wrap, I measured the front and the two sides. I left the back alone – so I could build shelves to hold bottles and such later. I measure the top dimensions and added 12″ for the overhang. With the 4 measurements written down (front, side, side, and top), I headed off to Home Depot to buy plywood. One of the great things about HD is that they will do all the cuts for you! I choose my plywood and gave them the dimensions I needed. For the bar top, I went with a thicker piece of nicer quality plywood. You’d be surprised at how many options are available! The sides and front were getting covered, so the appearance didn’t matter, so I saved a little there. I should have used thinner plywood for the wrap and saved even more. Thicker pieces just added more weight to it. Have I mentioned that this thing is HEAVY??
While I was waiting for the plywood to be cut, I shopped for the other items on my list. I chose a dark stain & poly combo, so I would have one less step in the process. I found the reed fencing in the garden department and added that to my cart, picked up my plywood pieces, and headed home to get started!
I used finish nails to attach the plywood around the pallet structure. Screws would be fine, of course. I just happened to have more nails on hand, so that’s what I used.
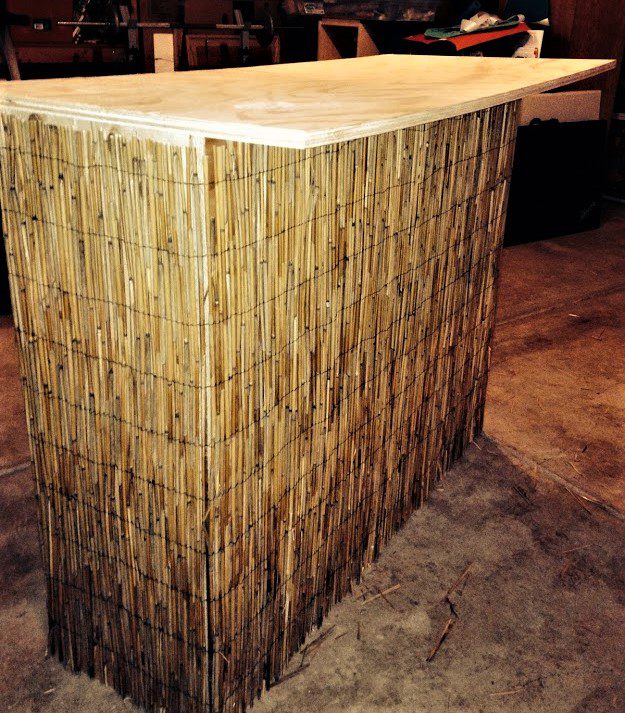
To attached the bar top, I once again used the finished nails. By using an awl (or a counterpunch tool) I drove the nails in a little deeper than the surface of the plywood and sanded the top. You can do this by hand with sandpaper, but since I own an orbital sander I made it a quicker process. I filled the nail divots in with stainable light-colored wood putty, and lightly sanded over the puttied areas. I wanted the surface to have a seamless look for the finished product.
After I unrolled the reed fencing on my garage floor, using both heavy-duty scissors and wire snips I trimmed it to the size I needed to cover the three plywood sides. It was attached using my staple gun. Easy-Peasy! The reed material makes a bit of a mess when it’s cut, but holds together without issue once it’s attached to the plywood.
At this stage, it’s looking like a genuine Tiki Bar and I’m getting excited to finish it! I pulled out the stain/poly and after wiping off the top to clear any leftover dust particles (I used a tack-cloth, but a damp sponge or washcloth will do the same thing). I followed the instructions and put two coats on the top and sides, drying the required 8 hours in between. I didn’t paint underneath, I figured no one would ever see it. Maybe small children, but they really shouldn’t be hanging out at the bar anyway. What kind of parent do you think I am? 🙂
Things have really come together and at this point, the bar is pretty much done, but I chose to add a few details to make it more functional. On the backside of the bar where I will be standing to make amazing cocktails for my guests, I added pieces of leftover plywood, cut to size to make 2 shelves for bottles, and boxed in two areas for a plastic container to hold any other bar accoutrements. I also removed the 3 vertical wood slats on the back, and moved 2 of them horizontally, nailing them just above the shelves to keep the bottles from falling out.


And here’s where the fun begins…
All the extras for your Pallet Tiki Bar
String lights and cup hooks to hang them
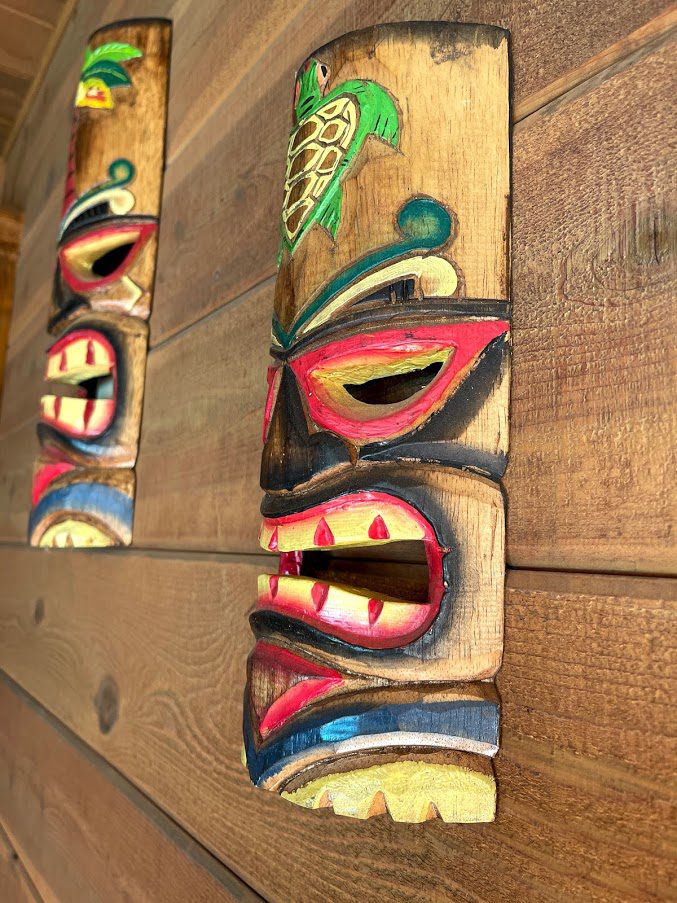
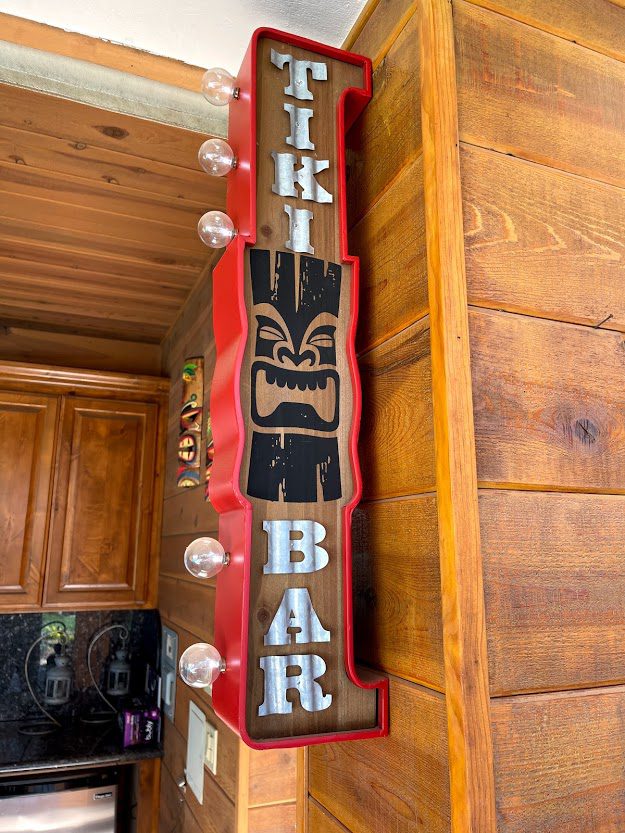
Any kind of Tiki decorations (I shopped at Party City and found a ton!)
Tiki mugs, glassware, stir sticks, paper cocktail umbrellas
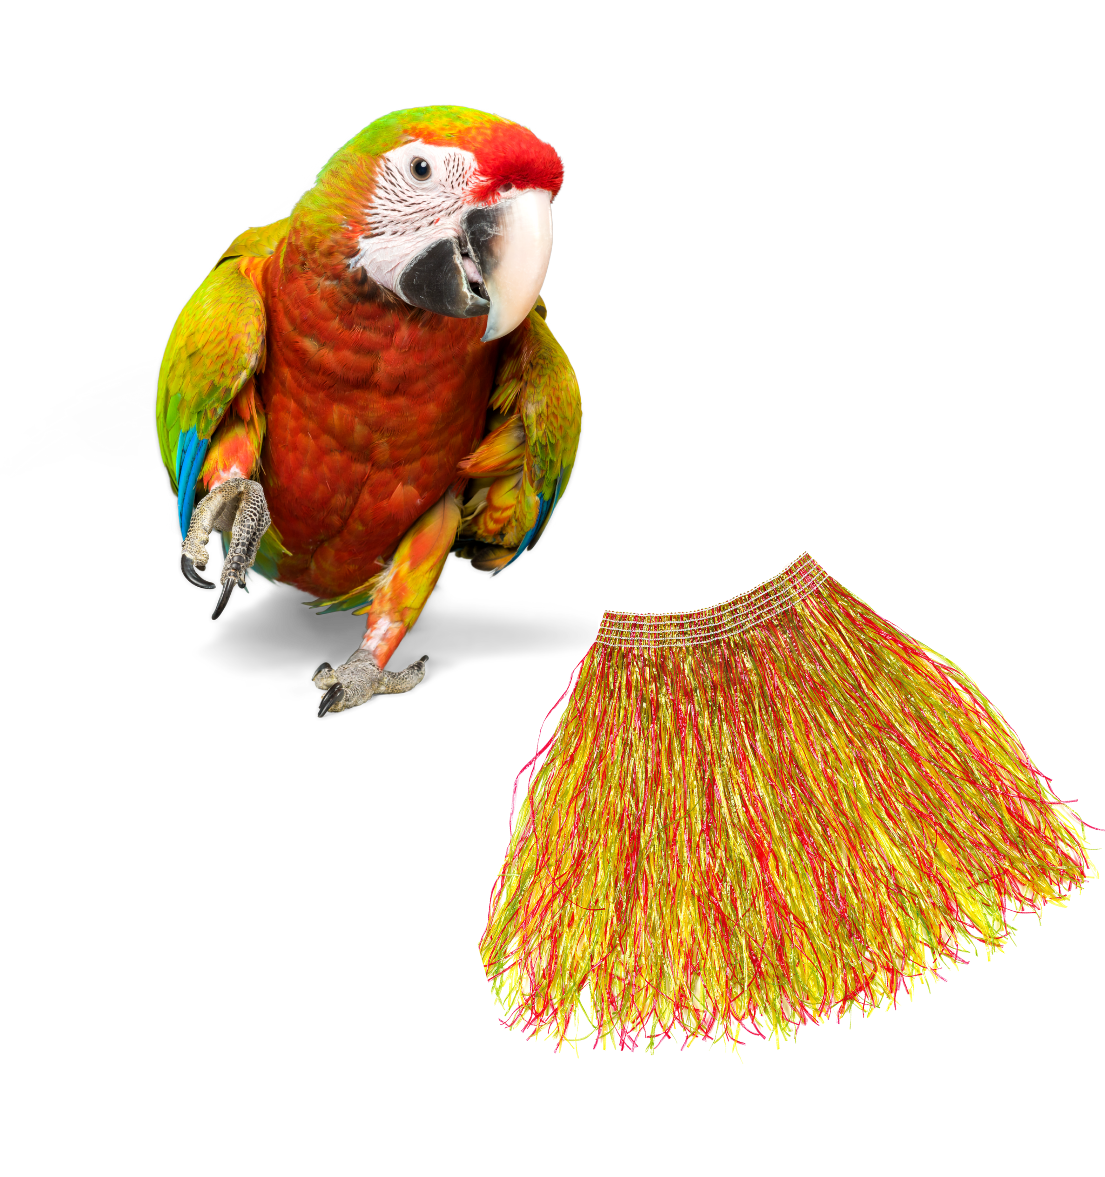
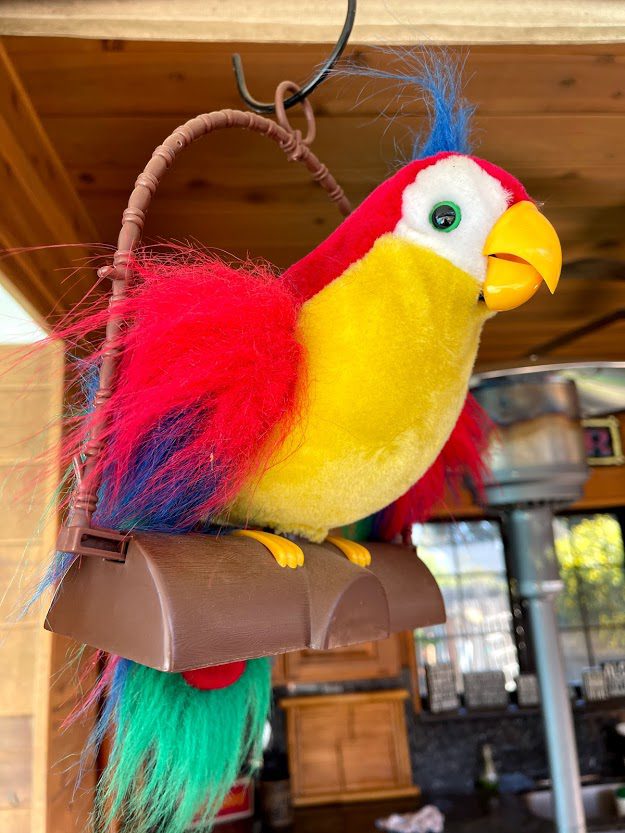
A parrot, preferaby one who talks
Tropical drink ingredients. Rum, Vokda, Blue Curaçao, pineapple juice, coconut and banana liqueur, & all the fun mixers
Hawaiian print shirts, hula skirts, and leis
Let the party begin!
In my previous home, there was a super cool garden shed in the backyard. I was able to create a small Tiki Room with reed fencing, Hawaiian lei garland, Tiki masks, and I added a roll of plastic grass turf rug to the floor. (like the kind of rugs people use outside their camping trailers). I was really sad when I had to move and leave the shed behind, but I packed up all the Tiki things to use in a new tropical paradise somewhere in my future.
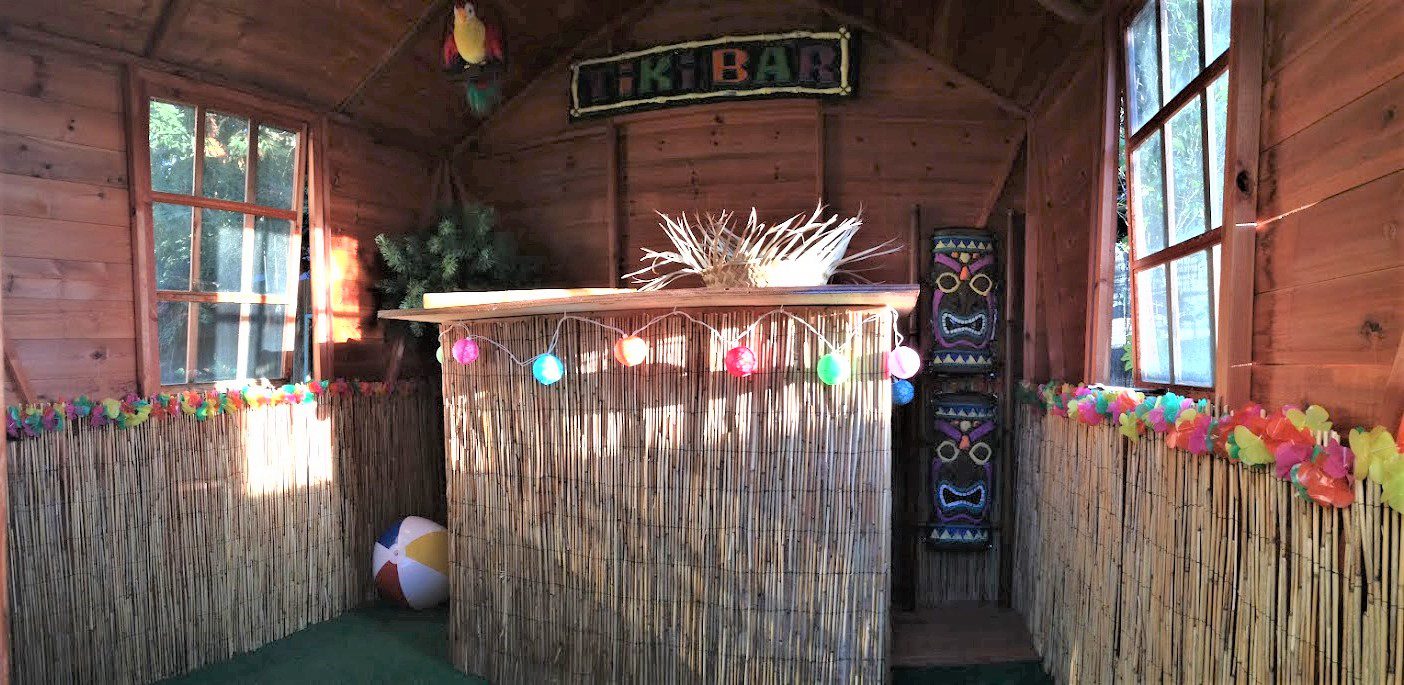
When I moved from my house, the Tiki bar and the decor all went into storage for a few years. This is how I know how heavy the bar is. It’s been moved several times and takes a few people to do it. I’ve since gotten smarter and added caster wheels to the bottom, so now it’s portable and can easily be stored away during the rainy season.
With our Forever Home and the pool, it’s perfect for the Hawaiian Themed house warming party I plan to have as soon as Covid restrictions lighten up and we all feel Ok with group functions again. By then the yard will be blooming with tropical plants and I’ll have had time to learn to mix the perfect Mai Tai!
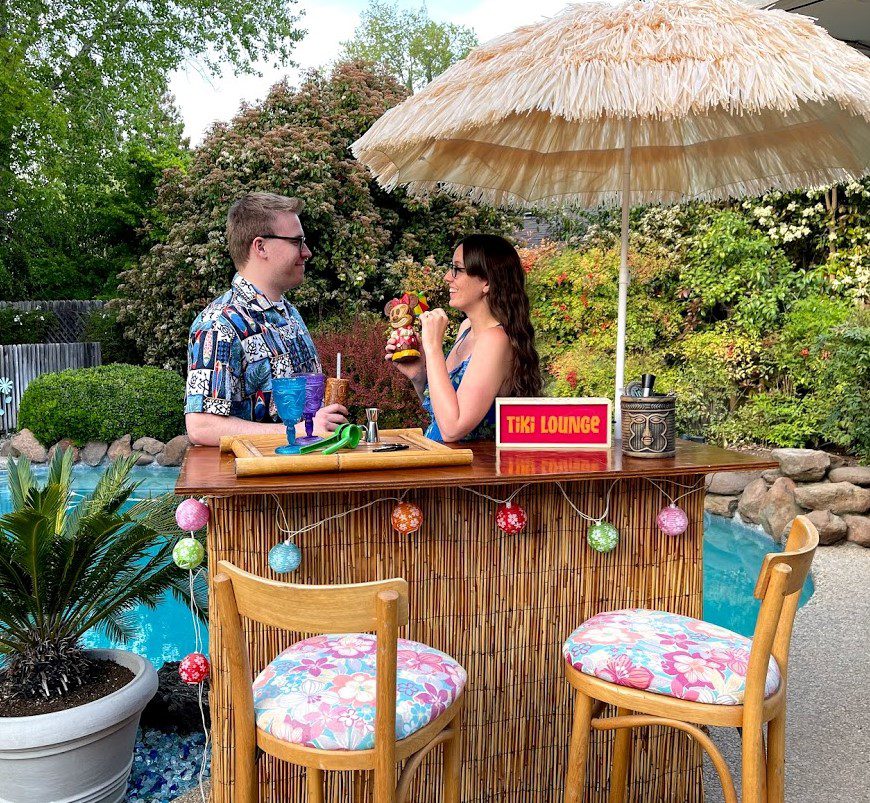
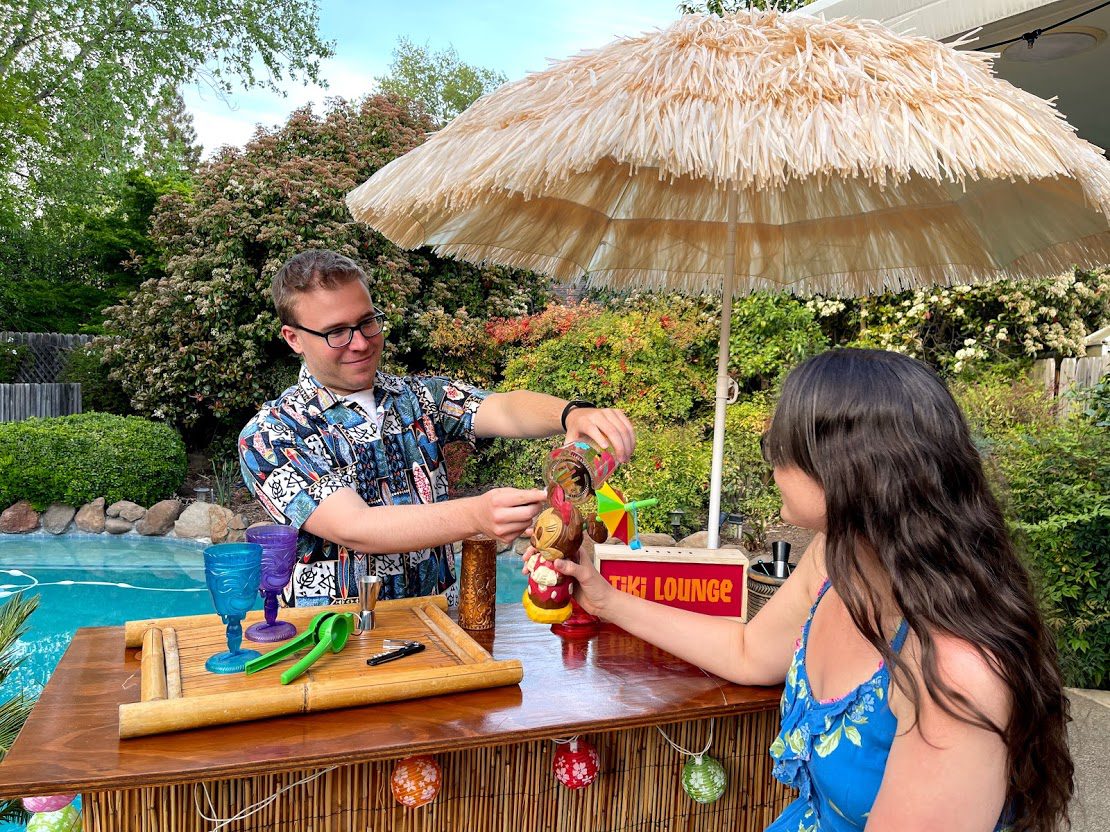
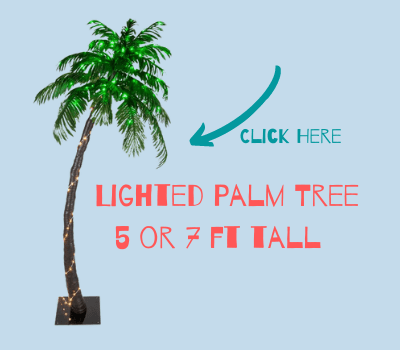
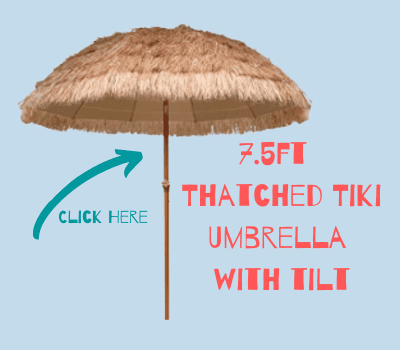
Over the years, I’ve accumulated more things. Mostly from 2nd hand stores, garage sales, or FB marketplace. I found two bamboo bar stools at a thrift store for $20 each. Score! I switched the old torn-up fabric seats for a cute Hawaiian fabric and recovered them using my staple gun and within an hour had brand new seating! Click the pics below for links to some of my accent pieces on Amazon. (Because if it’s not on Amazon, it probably doesn’t exist)
♥ No matter what you find, or where you find it, look for fun and colorful items, because after all, a Tiki Bar is a PARTY! ♥
Click to add to your own Tiki bar:
The Perfect Mai Tai
1/4 cup pineapple juice
1/4 cup orange juice
1 jigger light rum (3 Tbsp)
1/2 jigger dark rum (1.5 Tbsp)
1/2 jigger orgeat or amaretto (1.5 Tbsp)
juice from half a lime
Combine ingredients (except the dark rum) in a cocktail shaker with ice until chilled Shake and strain into a clear glass, over fresh ice. Float the dark rum on top, do not stir. Garnish with a pineapple wedge or maraschino cherry. ENJOY!

Do you love all things tropical?
Have you created a Polynesian Paradise? Did you build a bar or have some other fun ideas to share?
I’d love to hear from you!

Join
Be the first to hear about new projects and fun home decor ideas
This post may contain affiliate links. Danelia Design is a participant in the Amazon Services LLC Associates Program, an affiliate advertising program designed to provide a means for sites to earn advertising fees by advertising and linking to amazon.com. For more information, please read my disclaimer here.


0 Comments