Halloween
The orange firey glow of grinning Jack o’ lanterns on every doorstep
Children giggling with fright as each front door opens with handfuls of candy delivered only with the magic words “Trick or Treat”
A typically humdrum neighborhood transformed into a Nightmare of Creep with ghostly Halloween props
Horror films, candy corn, costume parties, and scares a’plenty
Best. Holiday. Ever.
Oh, and WITCHES!!!

Witches Cauldron & Faux Fire
I’ve seen plenty of blogs and YouTube videos over the years for a full-on witches cauldron setup. I have the cauldron and I even have the witches. But this year I’m taking it up a notch and adding FIRE! My inspiration was The Wicked Makers on Youtube. Here is the link to the video
I modified things a bit, but I would have struggled without watching their genius. And when it comes to Halloween props, this couple leaves the rest of us in the dust!

BUILD The Fire
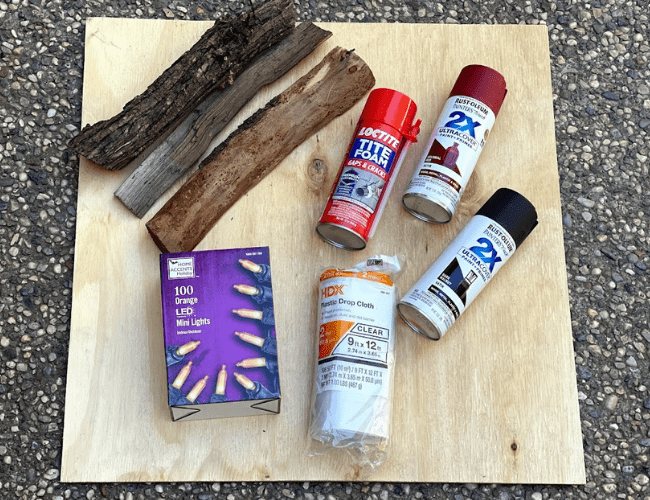
- Square piece of plywood (Home depot has a “scrap wood area” and I picked this 2’x2′ piece up for a few dollars)
- 1-2 cans of expansion foam
- 1 box of orange string lights
- Red spraypaint
- Black spraypaint
- Tarp
- A few pieces of wood or sticks
Lay out your tarp and spray paint your plywood with black spray paint. Let dry.
Check your string lights to make sure they work before you assemble the fire. Once the plywood is dry, place the lights on your board, laying them out and spreading them evenly. For more volume to your fire, you can add clear plastic water bottles, lightweight foam squares, or flexible dryer ducting underneath the lights. If you’re going for more of a “burning embers” look, you can skip this step. Adding the dryer ducting added the height I wanted and also gave the wood logs something to balance on before I added the expansion foam.
IMPORTANT NOTE: leave both ends of the string lights (male & female plug) out and away from the area where you’ll spray the foam. Temporarily tuck them under the plywood, so they stay clean. You want them exposed for later use.
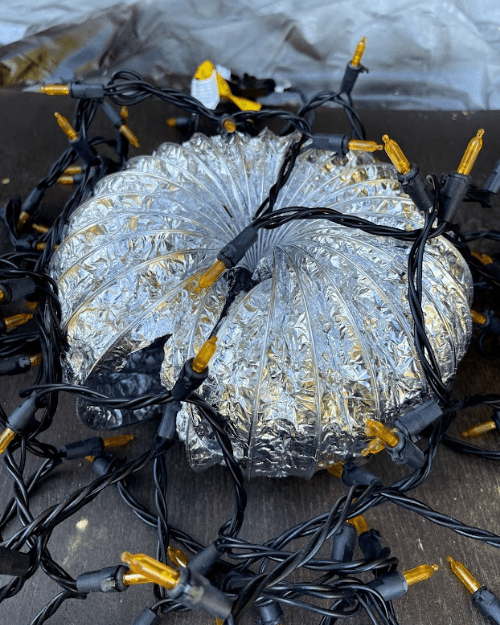

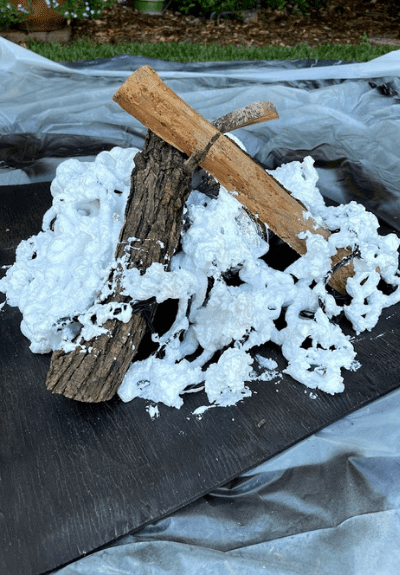
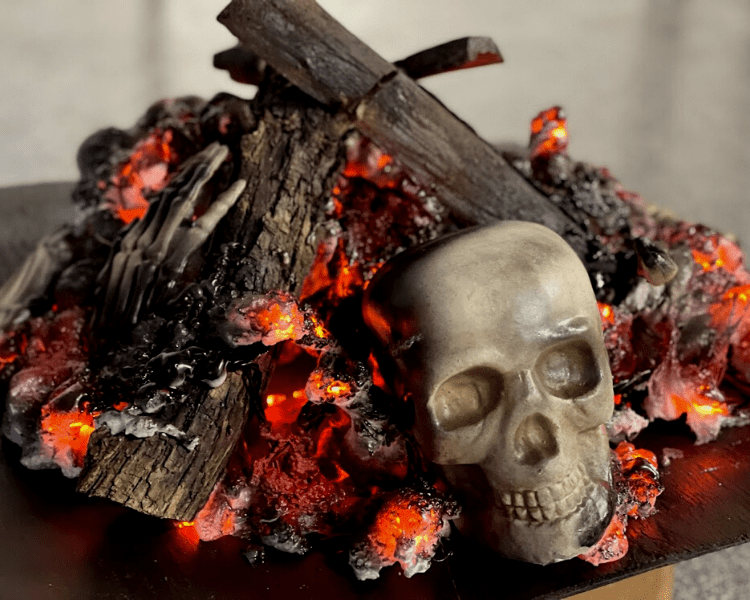
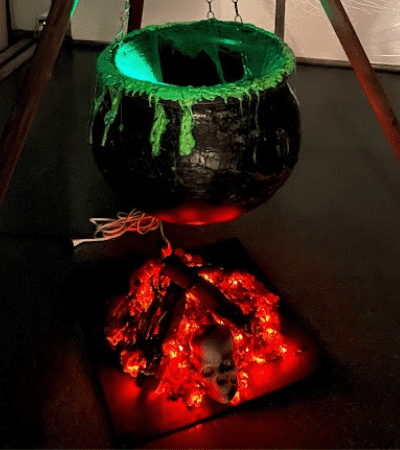
Wearing gloves, I started working my way around the base and sprayed the foam to cover all the string lights, the dryer ducting, and the bottom portion of the logs. You want the lights completely covered. I sprayed too much to start with and didn’t have enough to fully cover the front, so I decided to add a plastic skull and some bones to fill in the gaps. There is about a 10-minute window where you can add items that will stick into the foam. Use a stick (NOT your fingers) to move the foam where you want it to go, but work quickly, it gets thick and sticky fast! (with a texture like marshmallow fluff)
DO NOT get this stuff on your hands! Anything it touches, will stay there forever. So use with caution! Wear gloves and protective eyewear. Spray close to the area you’re working in, you don’t want foam flying anywhere you don’t want it to go.
It fully dries and hardens in 2 hours, but after an hour it’s hard enough to paint. Using a light touch, from about 6-8″ away, spray with the black and red spray paint. I added dots of red where I wanted a “hot burning ember” look and the black where I wanted it to look burnt.

Design the Cauldron
- plastic witches cauldron
- glue gun & glue sticks
- green acrylic paint & brush
- chain or rope (if you’re going to hang it)
- drill (for water holes & to attach the chain)
- creepy cloth (optional for additional texture)
- Mod Podge (if you use the creepy cloth)
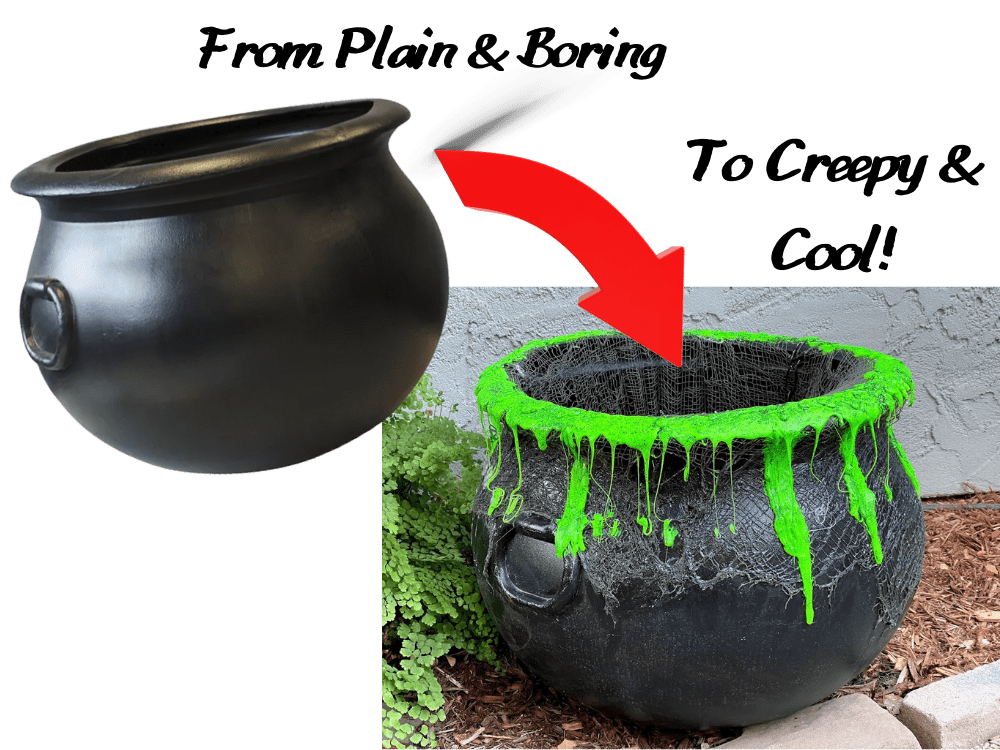
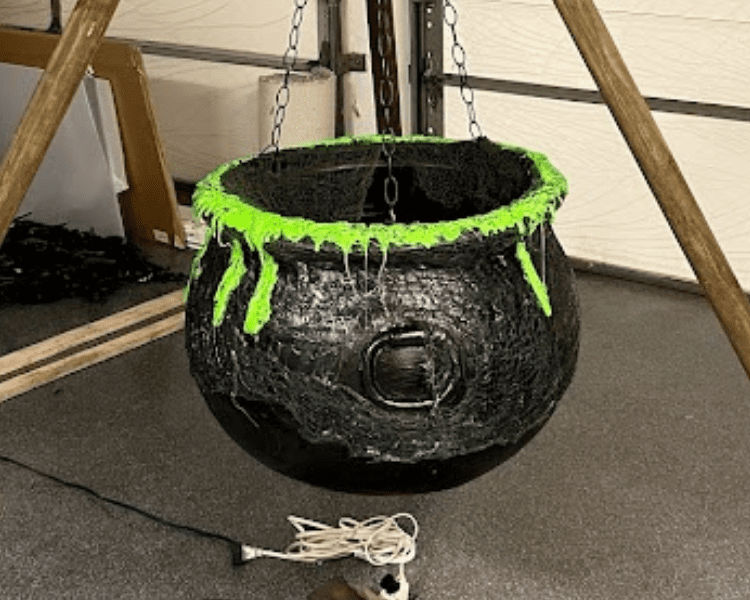
Because I knew I was going to use chain to hang the caudron (some cauldrons have a handle, mine didn’t) I need to drill the holes prior to the following steps. Also, drill a few in the bottom, for drainage. And if you plan on using any lights or mist makers, drill a larger hole to fit the cords through the bottom, so they can be hidden.
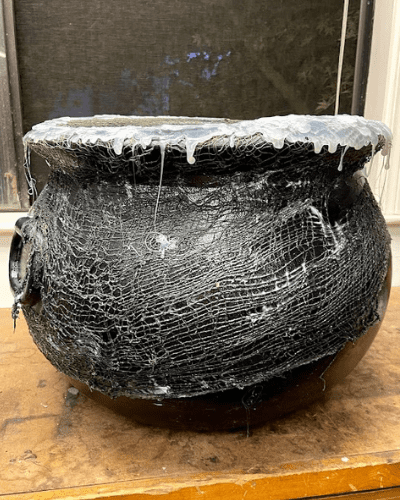
For extra texture, I went with some green Creepy Cloth and Mod Podge. I cut what I wanted and draped it over the edge to where I wanted it and left the rest inside for effect. The Mod Podge is a little messy, but will easily wash off your hands. It goes on white but dries clear.


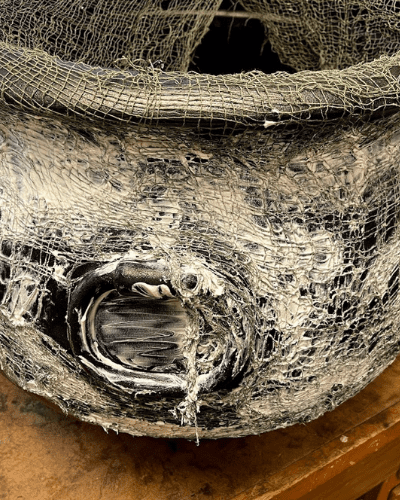
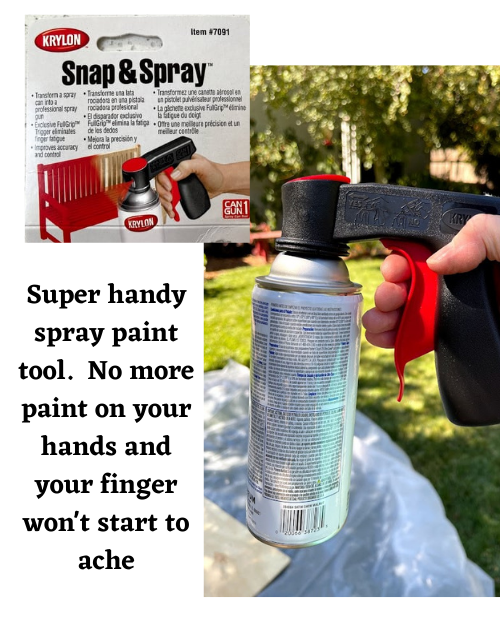
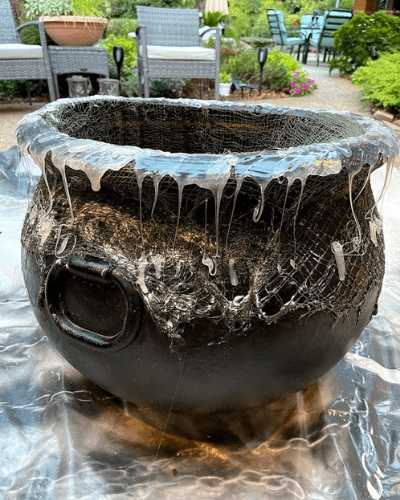
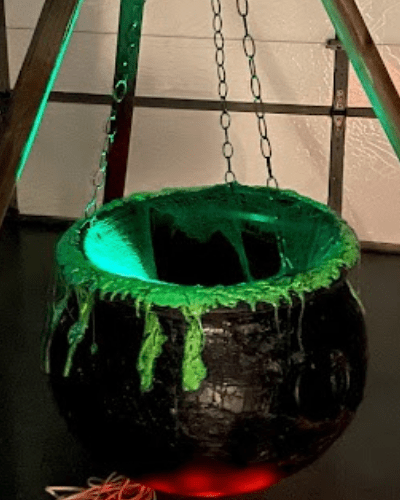
Once the Mod Podge had mostly dried, I could get out the glue gun and go to town! I placed the cauldron on a tarp to catch any glue that may drip. (you can see the spraypaint image of the chain that I also painted for this project) I have a very large cauldron (17″ high and 22 inches in diameter) So there was a lot of glue involved. I used about a dozen 8″ glue sticks. It took a while, but I think the effect was so worth it! I used it on the top edge only, and let some drip down, for a “boiling over” look. I’ve also seen people use the same expansion foam that I used for the fire on the edges for a super cool effect. But since I use this for storage of other miscellaneous Halloween things the other 11 months of the year, I wanted something more bulletproof that won’t get damaged.

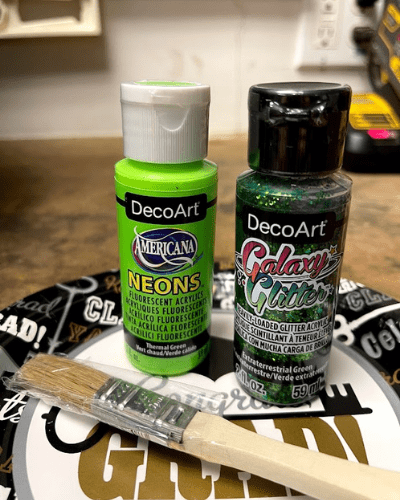
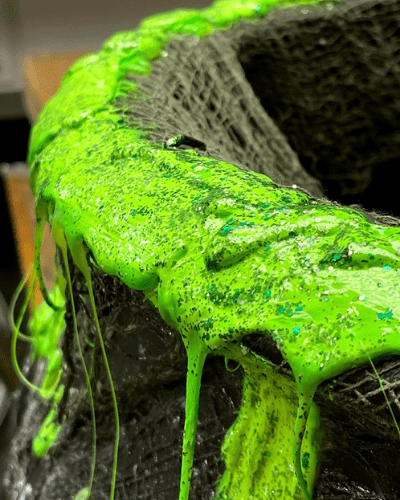
I chose neon green acrylic paint, (purple or orange would also be a fantastic choice) because I wanted the cauldron to have a great daytime visual. After 3 coats of neon green, I topped it with one coat of green glitter paint.
So what about when the sun goes down? There is the option of adding a waterproof tray and an electric mister. Or adding colored lights inside the cauldron. Or adding a colored solar uplights nearby to accent your work. For now, I’m leaving the creepy cloth inside and may add some green string lights later.

Putting it all together
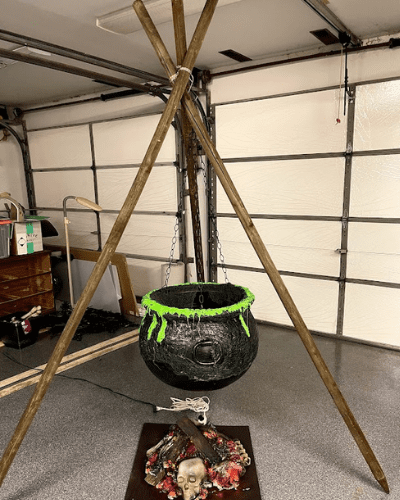
- 3 large poles 6-8′ tall (bamboo or other wooden garden stakes) I used 8′ tree stakes from Home Depot for a more substantial look.
- Rope or twine to connect the poles
- S-hook or carabiner to attach the chain of the cauldron.
- Outdoor rated extension cord
I watched a ton of YouTube videos to learn how to tie the tripod support. Turns out that when you Google “how to make a teepee tripod thing for a cauldron”, stuff comes up! The official name is TRIPOD LASHING. For those of us who were never Boyscouts, here is a link to watch and learn some important knot tying skills that you never knew you needed. But seriously, I’m going to learn some more knots and when the Zombie Apocalypse happens, I’ll be ready! New survival skills, check!
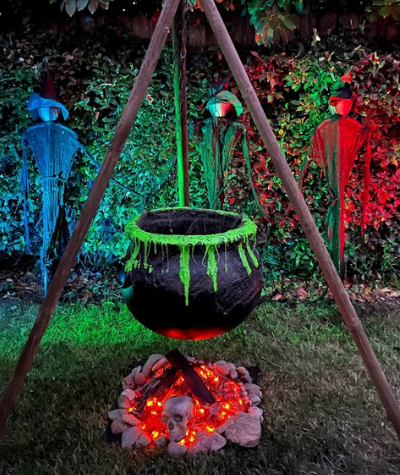
I added rocks around the fire and pulled the witches down from the attic to complete the scene. The witches have seen better days, and after 5 years of weather and the heat of the attic, the fabric has all but disintegrated. Plus one of their heads fell off. I think I can figure out a way to salvage the main body and buy some new fabric. I already have a glue gun and plenty of glue sticks, so there is hope for the decapitated one. Another blog…for another day…
Don’t Miss A Thing!
Subscribe to the Danelia Design Newsletter
This post may contain affiliate links. Danelia Design is a participant in the Amazon Services LLC Associates Program, an affiliate advertising program designed to provide a means for sites to earn advertising fees by advertising and linking to amazon.com. For more information, please read my disclaimer here.



I couldn’t get my acrylic paint to stick well to the very smooth glue surface. Did you do something to prime it?
I didn’t use a primer. I wonder if the glitter acrylic paint helped to keep it on? It’s been several years and I haven’t had any that has chipped off. Maybe the brand that I used? (DecoArt)